Gear Talk
In this section I will be talking about the specific gear I use, both hardware and software. Also I will be covering my shooting technique to give you an idea on how that I achieve my signature look.
Gear
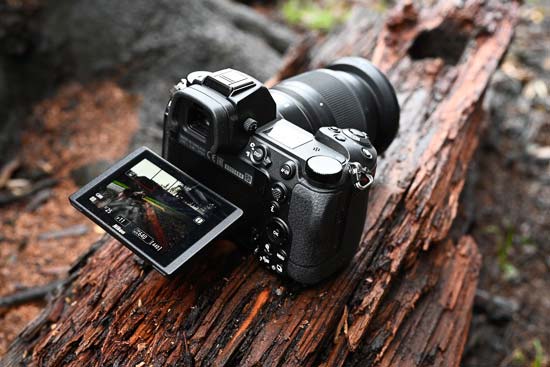
Camera
- Nikon Z6 II Body
- Nikon Z MC 50mm f/2.8
- Nikon EH-7P Adapter
Tripod
- Manfrotto 055XB Tripod
- Manfrotto 410 3-Way Geared Pan / Tilt Head
- Manfrotto 410PL Quick Release Plate
Remote trigger
- Hähnel Captur Receiver
- Hähnel Captur Module – Timer
Lighting
- iPhone 11 with “Light Paint” App
Shooting mode
- Manual focus
- Bulb mode
- Mostly f/11
- ISO 100
- Exposure ≅ 10s / 20s
Software
- Adobe Lightroom Classic CC
- Adobe Photoshop
- DxO Nik Collection
- Helicon Focus
Process
Shooting
- Stage the scene with all lights on. The lights help the camera with achieving a good focus.
- Setup the camera, get a good focus on the subject, then switch from AF to MF.
- Switch on remote receiver and trigger module, switch to long exposure (I usually use a 10 to 20 seconds interval).
- Start up your light painting app.
- Go dark.
- Use the trigger to fire off a shot and light paint the subject in the next 10 seconds.
- Repeat previous step until you have completed your desired lighting.
Post processing
- Load photos into Lightroom.
- Set lens profile and sync those settings to all photos.
- Load them into Photoshop as layers.
- Reverse the layer order and then auto-align all layers.
- Selectively, blend the different layers with the help of layer masking.
- Once you’re done with the previous step, merge all layers to one.
- I then mostly resize the canvas to a 16x9 ratio and use content-aware filling to fill in the sides.
- Create a new layer and use that for the healing brush to work non-destructively.
- Once all cleaned up, flatten image, save and return to Lightroom.
- Edit the photo in RAW Presharpener, I use the default settings.
- Edit the photo in DFine, U use the default settings.
- Edit the photo in Viveza, do all color corrections here.
- Edit the photo in Color Effex Pro, I mostly use Pro Contrast, Bleach Bypass, Detail Enhancer, Tonal Contrast and Dark / Lighten Center.
- Edit the photo in Output Sharpener, I usually use it around 15-20% output sharpening.
- In Lightroom, make some final retouches.
- Edit the photo in Photoshop for the final time for the occasional extra cleanup.
- Back in Lightroom, go to the Library mode, supply the correct tags and name the picture. Then export the picture in your favorite format.